How Do You Make Your Own Candle Wicks?
A Simple Guide to Crafting Wicks at Home
If you’re diving into the world of candle making, learning how to make your own candle wicks is a natural next step. Whether you want more control over your materials, a more natural approach, or just enjoy DIY projects, crafting your own wicks is easier than it sounds—and surprisingly rewarding.
In this guide, we’ll walk you through the process using common household items or easy-to-find materials. You’ll also learn how to properly prime your wicks so they burn cleanly and evenly.
Why Make Your Own Wicks?
Store-bought wicks are convenient, but homemade wicks give you full control over what goes into your candle. That means fewer unknown additives, more flexibility in size and material, and an added layer of craftsmanship to your creations.
It’s also a smart solution when you run out of wicks but still have wax left to use.
What You’ll Need
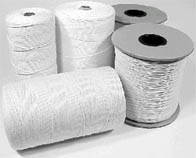
To make a basic cotton wick, gather the following:
- Cotton string (undyed, 100% cotton is best)
- Scissors
- Wax (paraffin or soy)
- Tongs or tweezers
- A small pot or heat-safe container
- Wick sustainers (optional, but helpful for stability)
Optional materials to modify your burn:
- Borax and salt (used for longer, cleaner burns)
- A stove or microwave to melt wax
Step-by-Step: How to Make Your Own Candle Wicks
1. Cut the Cotton String
Start by cutting your cotton string to the desired wick length. It should be at least 2 inches longer than the height of your candle container, giving you room to trim later.
2. (Optional) Soak in Borax Solution
For a cleaner and slower burn, you can soak the string in a mixture of:
- 1 tablespoon salt
- 1 tablespoon borax
- 1 cup of warm water
Let the string soak for 12–24 hours, then let it dry completely for another day. This step is optional but can enhance burn quality.
3. Dip in Wax
Melt your candle wax in a small pot or heat-safe container. Using tongs, dip the string into the melted wax until fully coated. Pull it out and lay it flat or hang it to dry, keeping it as straight as possible.
Repeat this dipping process 2–3 times for a thicker, sturdier wick.
4. Attach the Wick
Once fully dry and stiff, you can attach the base of the wick to a metal sustainer if you have one. This makes placement in the container much easier. Otherwise, simply secure the wick to the bottom of your mold or jar using a bit of melted wax.
Tips for Better Results
- Always test your homemade wick with your wax type and container size. Wick thickness affects burn rate.
- Don’t use synthetic threads—they can produce toxic fumes or burn poorly.
- If the flame is too small or large, adjust wick thickness or test a different priming method.
Final Thoughts
Making your own candle wicks is a great way to learn more about the craft and fine-tune your candles to perform exactly how you want them to. While it may take a few test runs to get it just right, the process is simple, accessible, and rewarding.So, how do you make your own candle wicks? With just cotton string, some wax, and a bit of patience—you’re all set to create candles that are 100% handmade, down to the core.
Contact us today!
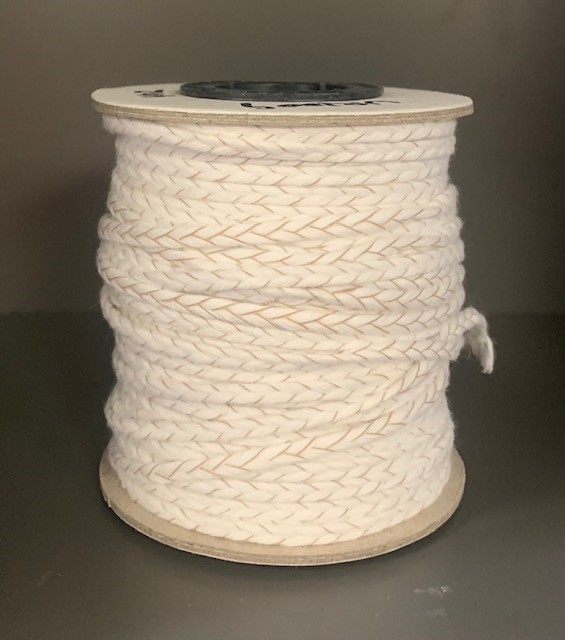
Hi der . this is Zdravko . My question is doo you have 7 ply wick and where i can find.?
Zdravko,
No, we do not carry 7 ply wicks. Suggestion try and google where to purchase 7 ply wicks, that might give you some answers.