Holidays are for Luminaries
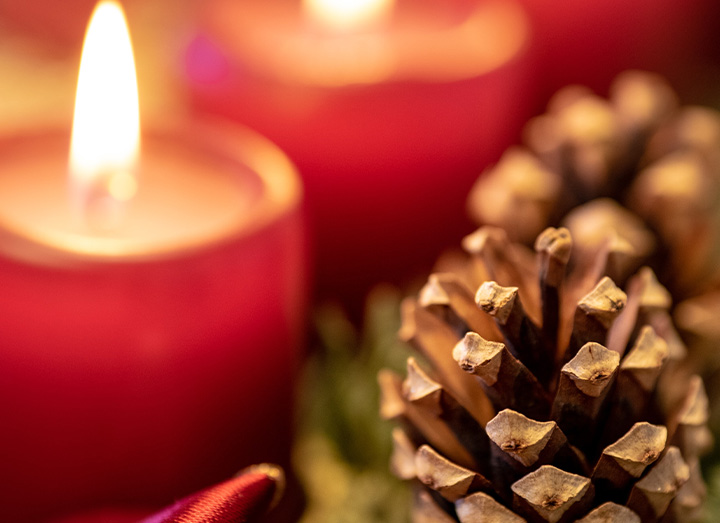
 It’s just about that time again. Thanksgiving and Christmas will be soon upon us, so start getting in the spirit of the holidays with new candle projects! Our favorite holiday candle décor has to be the luminary, specifically the tin can luminary. It’s such an easy DIY project and you probably have all the supplies you need already in your household! Luminaries are a great chance to use up all your leftover wax, because you can’t really see the color, only the glow. This project would also be a great one to do with your children, your neighborhood or youth group in the winter months! (But leave the power tools and nails to the adults, please.)
What You Need:
- Tin can: coffee, soup, or even an old paint can
- Hammer & nails OR a power drill
- Tissue paper & marker
- Votive candle
Step-by-Step:
- Select a votive to use. Again, use up your extra wax or use votives you’ve already made.
- Draw your holiday design on tissue paper. Think leaves, turkeys, pilgrim hats, snowflakes, stars, candy canes, gingerbread men, Christmas trees, snowmen or even short sayings like “Give Thanks,” “Merry Christmas” and “Ho Ho Ho.” Tape your design onto the tin can.
- Place your tin can on a solid surface. To prevent it from rolling or damaging the surface, place some old folded dish towels or rags underneath.
- Use your tools of choice to punch holes along the lines of your design
Line your luminaries along sidewalks and driveways or place them in your home for an ambient glow. If you want an extra punch of holiday cheer use some of Candlewic’s favorite seasonal scents:
- Smoked Applewood
- White Mulberry Cedar
- Poinsettia Pine
- Cranberry Scone
- Balsam
- Egg Nog
- Gingerbread
- Peppermint
Happy luminary making!
Check out the beautiful luminary creations of this blogger for step by step pictures:
(Photo credit goes to Rachel from the DIY Christmas Luminaries blog post.)
Is this the same as snowflake? Us 435?