How to Make Layered Candles
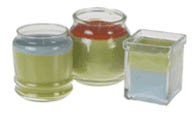 A layered container allows you to offer 3 fragrances for the price of 1 to your customers. The user gets to have 3 different fragrances during the life of the candle. This candle can also be great when doing fund raisers for High Schools, Sports clubs and other organizations that have distinguishable colors.
Materials
- Glass Container of your choice (must be heat resistant)
- CBL-130 (Most Low Shrink Waxes will work)
- Three Concentrated Candle Dye Colors
- Wick and Wick Tabs
Step 3
Secure the required length of wick to a wick tab (depending on the height of your container). Place a few drops of wax in the bottom of the container and place your wick tab and attached wick in the wax. Let cool. This will secure your wick to the appropriate location in your container and ensure your wick stays centered as you pour your candle Use wick guidelines as a basis for deciding where to place your wicks.
Step 4
Take 1/3 of the wax in a measuring cup and add 1/8 of a square of your first color of concentrated candle dye. Make sure the wax is hot enough so the dye will dissolve quickly and that you can pour it before it gets too cold.
Step 5
Take the glass container and prop it up at the desired angle. Make sure the container is secure and will not fall over as you pour your wax. Books work well for this, but you must be sure to cover them with aluminum foil or newspaper before pouring your wax to guard against any spills.
Step 6
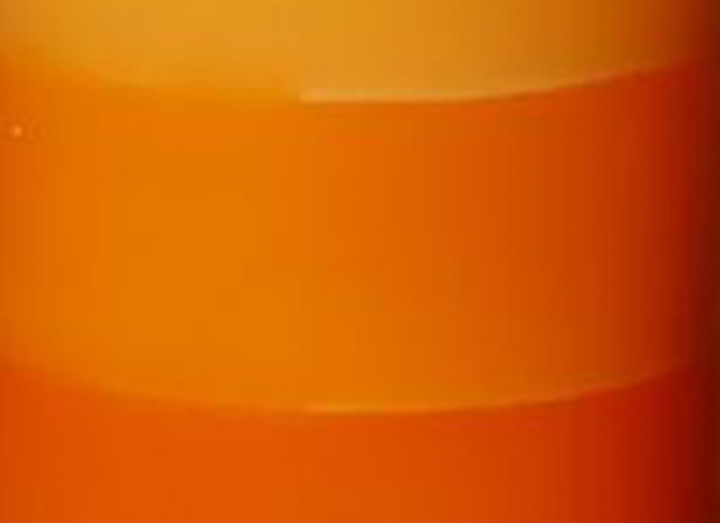
Carefully pour the wax in the container and let cool.
Step 7
Once wax has completely cooled and hardened, place the container flat on the counter again and prepare to pour the next layer. Prepare your wax as in Step 4 again but this time add 1/8 of a square of your second color of Concentrated Color Squares. Pour this wax into your container.
Step 8
When the second layer of wax has completely cooled and hardened, add your last layer of wax. Once again prepare your wax as in step 4, but use 1/8 of a square of your third color of Concentrated Color Squares. This time do not pour all of the wax into the candle. Keep a small portion of wax to pour over the candle to fill the depression that forms as the candle cools. Make sure you save enough wax to cover the entire top of the candle on your second pour (to ensure a smooth top surface).
Alternative Layered Candle Ideas
- Try making these candles using more layers at different angles or use different shapes of containers.
- You can also make layered votives or floaters using these same steps!
- Layered pillar candles are also a unique addition to any gift or home décor!
For more unique candle making effects, sign up for our newsletter below.
I liked how you mentioned that a layered candle can offer 3 different fragrances in 1 container. My wife is wanting to start making candles and she was wondering how she could make her’s unique. I’ll be sure to tell her that she should try making layered candles.
Thank you and look forward to working with you.
You should show what happens if you don’t let the colors set properly. I want to know what’ll happen, I just don’t want to waste my wax.
I was kind of disappointed they didn’t show us how to make candy cane layers. It would have been so helpful for my peppermint Christmas candle I gave my grandma.
Same concept, you will need white wax and red dye. do the exact same thing but with white wax and red wax. (sounds time consuming) but if your making multiple batches should be worth it.